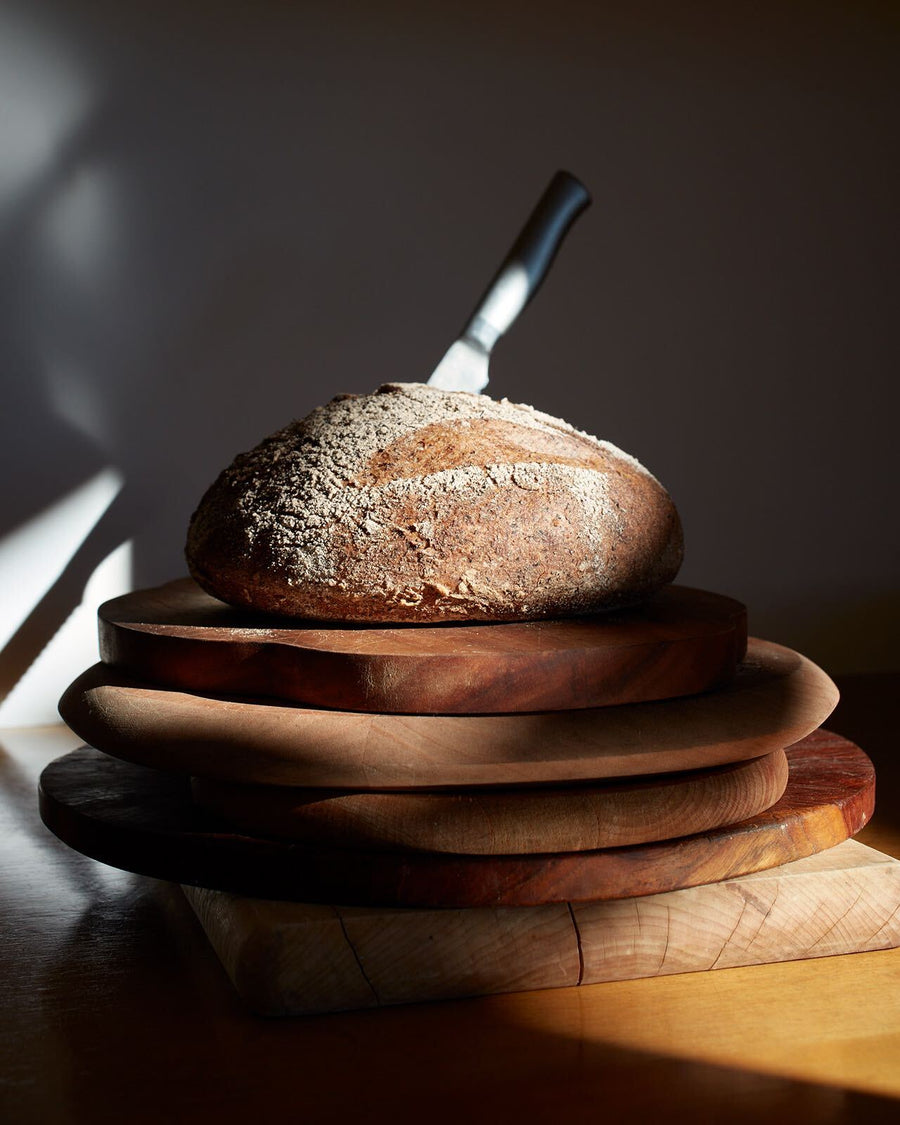
Sourdough Boules
Makes 2 boules
For the sponge
3/4 cup plus 1 tablespoon (245g) cold sourdough starter
1 cup minus 1 teaspoon (22g) filtered water, at room temperature
1 cup plus 2 tablespoons (160g) superfine brown rice flour, plus more for dusting
For the dough
1 3/4 cups (210g) gluten-free oat or light buckwheat flour, plus more for dusting
3/4 cup plus 3 tablespoons (120g) sorghum flour
1 cup (120g) tapioca starch
3/4 (120g) potato starch
2 teaspoons kosher salt
3 cups plus 2 tablespoons (700g) filtered water, at room temperature
1/4 cup (40g) Organic India Psyllium Husk
3 tablespoons (20g) flaxseed meal
To make the sponge, in a medium bowl, mix together the sourdough starter, water and brown rice flour. Cover the bowl with a clean kitchen towel and proof at room temperature for 3 to 6 hours, until the mixture is bubbly, puffed up and resembles mousse.
To make the dough, once the sponge has fermented, the the bowl of a stand mixer fitted with a dough hook, mix together both flours, both starches and salt.
In a large bowl, whisk the water, psyllium powder and flax-seed; it will quickly become thick and gel-like. Add this mixture and the sponge to the mixer bowl. Mix on medium speed until the dough comes together and all of the flour has been incorporated. about 3 minutes. Alternatively, you can mix the dough by hand in a large bowl, making sure there are no large clumps of unmixed flour.
Lightly dust a work surface with brown rice flour. Turn the dough out onto it and cut into 2 equal pieces. Knead each piece, then shape it into a ball, making sure that the seam is sealed. The dough should be moist, with some bounce and hold its shape.
Dust two 8-inch proofing baskets or mixing bowls with brown rice flour. Gently transfer the dough rounds into the baskets with the dough seam facing up. Cover the baskets loosely with clean kitchen towels. Proof the dough at room temperature for 1 to 2 hours or in the refrigerator for 8 to 10 hours. The dough will not double in size or expand much, which makes it hard to visually assess if it's ready to be baked. Give it a try and make adjustments based on the outcome.
Approximately 30 minutes before baking the boules, preheat the oven to 500 degrees F and put two 5-quart cast-iron Dutch oven pans inside. Heat them for at least 20 minutes. When ready, invert the proofing basket onto your hand, and gently place the dough into a Dutch oven. Score the top using a lame or sharp knife, sprinkle with a bit of oat flour and add a couple of ice cubes into each pot beside the dough.
Cover the Dutch ovens with lids and bake for 45 minutes. Remove the lids, reduce the oven temperature to 450 degrees F, and bake for another 50 minutes, until the crusts are dark and sound hollow when tapped. The internal temperature should be 210 degrees F.
Transfer the boules to a wire rack and cool completely before cutting. This is very important because it allows the crumb to set and not be gummy. If you cut the bread before it is cool, it will collapse and all the air pockets will stick to each other. Be patient. Store the bread in a brown paper bag at room temperature. It is best eaten within 2 days. You can also freeze bread once completely cooled.

This recipe comes courtesy of my dear friend Aran Goyoga, namely her cookbook and my baking bible Canelle et Vanille Bakes Simple.